Interferometry
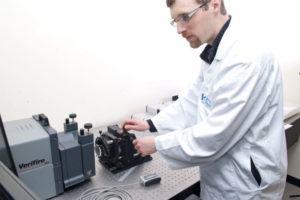
 Interferometry works by superimposing wave fronts in order to create interference patterns through which the surface figure of a part under test can be measured. When the reflected wave front of a known optical flat is overlaid on the wave front caused by reflections off the test surface, the resulting interference pattern, or fringe pattern, identifies the deviation in form of the part.
Our upright FISBA interferometer is used primarily for non-contact testing of flatness and Transmitted Wave Front Error (TWE) in plano surfaces such as windows and optical flats. The FISBA has a 4”/100mm aperture and measures to an accuracy of 1/20 wave.
We also own a ZYGO interferometer + offering fast measurements of form error, irregularity and TWE for flat and spherical surfaces to an accuracy of 1/20 wave. With an intergrated radius slide we can also measure radius of curvature to high accuracies. The ZYGO’s dedicated MetroPro X software offers a wide range of operational features and data analysis tools for unmatched measuring capability and reporting. The ZYGO is not limited to testing glass components and can measure surface figure for any high reflecting material including precision metal components and polished ceramics up to a 4”/100mm aperture.
Metrology reports for parts where testing of surface figure is required, Knight Optical will include interferometric data and graphical representations. Results are typically given in waves or fringes depending on your needs and can include one or more cross sections of the part if required. Metrology reports can be adapted to your needs. Contact our technical sales team to find out how we can help you.